It's the biggest question in face sculpting: contour before or after foundation? And honestly, there’s no single right answer. It all boils down to the look you're trying to achieve.
Applying contour after foundation gives you that sharp, defined, ready-for-my-close-up finish. But applying it before? That creates a much softer, naturally blended look.
The Great Debate: When to Contour
Figuring out the order of your contour and foundation is the very first step in getting the makeup finish you want. This choice isn't just a simple preference; it fundamentally changes the intensity and blend of your final look. One way gives you that sharp, camera-ready definition, while the other offers a soft, 'lit-from-within' glow that's perfect for every day.
This visual breaks down the core concepts to help you decide which approach is right for you.
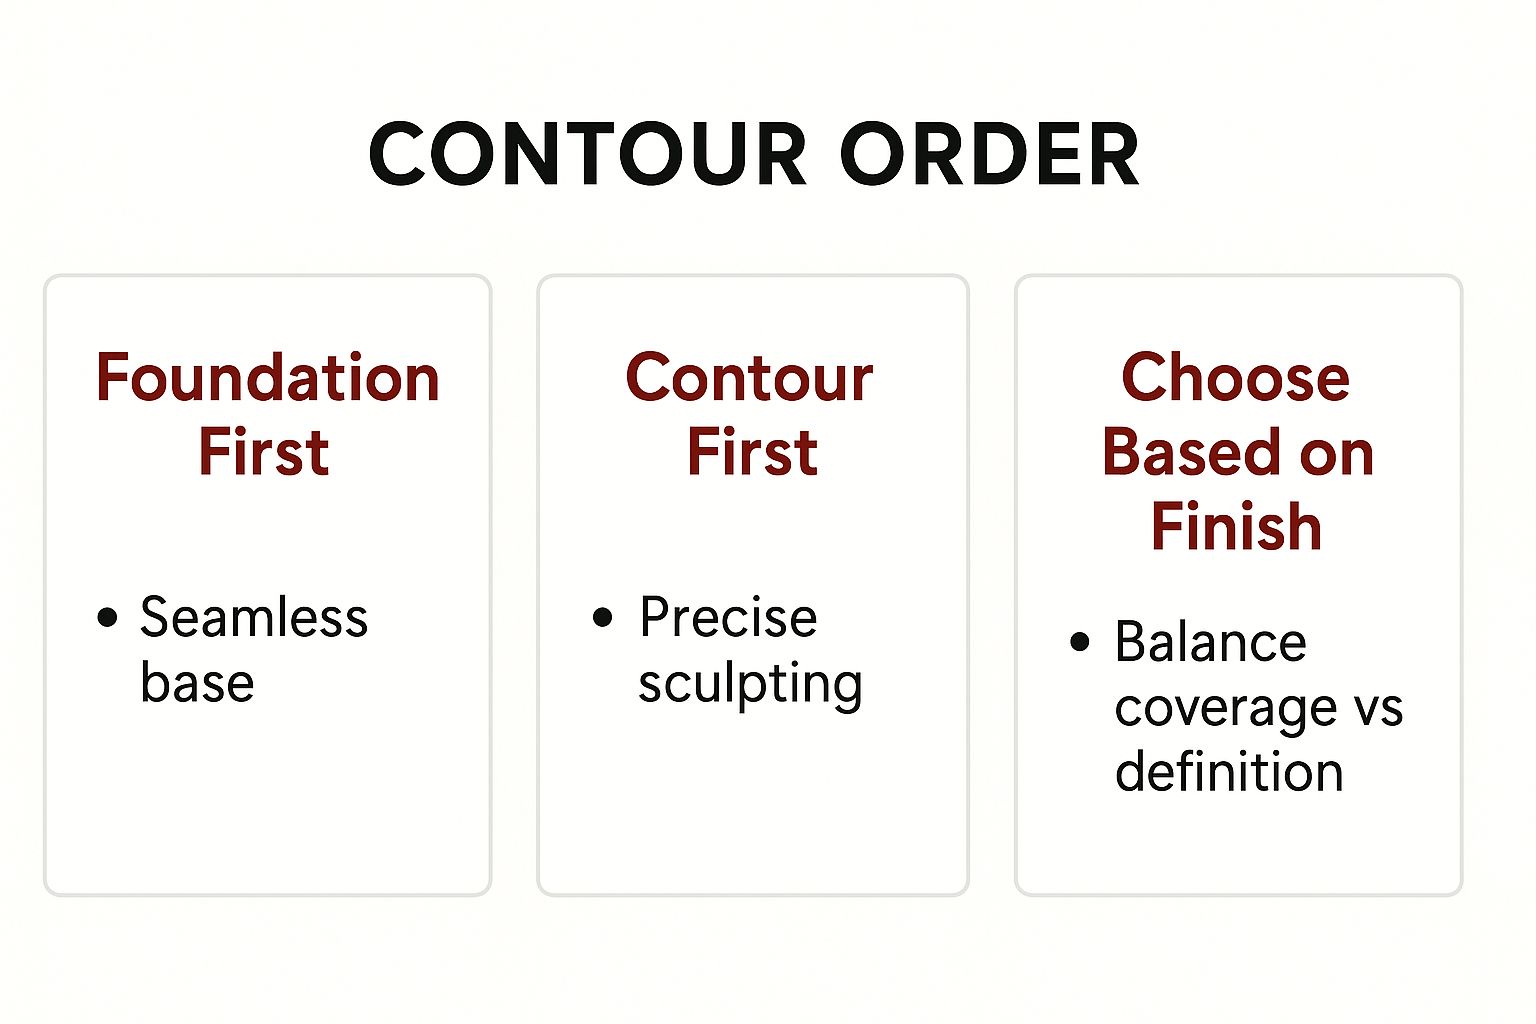
As you can see, your decision creates a direct trade-off between coverage and definition. Let's dive into what that really means.
Contouring Order At a Glance
Still on the fence? This quick comparison table breaks down the key differences between the two techniques.
| Factor | Contour Before Foundation | Contour After Foundation |
|---|---|---|
| Finish | Soft, natural, diffused shadows | Sharp, defined, sculpted |
| Intensity | Subtle and understated | Bold and dramatic |
| Best For | Everyday wear, "no-makeup makeup" | Photoshoots, events, glam looks |
| Product Type | Ideal for cream and liquid contours | Works well with both cream and powder |
| Technique | "Underpainting" | Classic layering |
Ultimately, both methods have their place. It just depends on your mood, your products, and where you're headed for the day.
Understanding the Standard Approach
For years, the go-to method has been foundation first. This classic technique creates a perfectly even canvas, letting you layer your contour products right on top for a clean, sculpted effect.
According to the pros at L'Oréal Paris, this sequence gives you a more dramatic and defined contour because the foundation base keeps the product from blending away into nothing. It holds its sharpness and contrast. In fact, industry surveys show that 70-75% of makeup users and professionals still prefer this order for the control it offers.
The key takeaway is simple: For a bold, defined sculpt that photographs beautifully, apply your foundation first. This method ensures your hard work doesn't get blended away.
Embracing the Underpainting Trend
On the flip side, there's the "underpainting" technique, which involves contouring before your foundation. This more modern approach has become super popular for its incredibly natural finish.
You apply your contour directly to the skin and then layer a sheer foundation over it. This diffuses the sculpted lines, creating a subtle shadow that looks like it's coming from within your skin, not like makeup sitting on top of it.
This method is perfect for:
- Everyday Looks: It gives you a gentle definition that doesn't feel heavy or overdone for daytime.
- Minimalists: If you love a "no-makeup makeup" style, this is your jam. It just subtly enhances your features.
- Cream Products: This technique shines with blendable cream or liquid contours that can melt seamlessly into the skin.
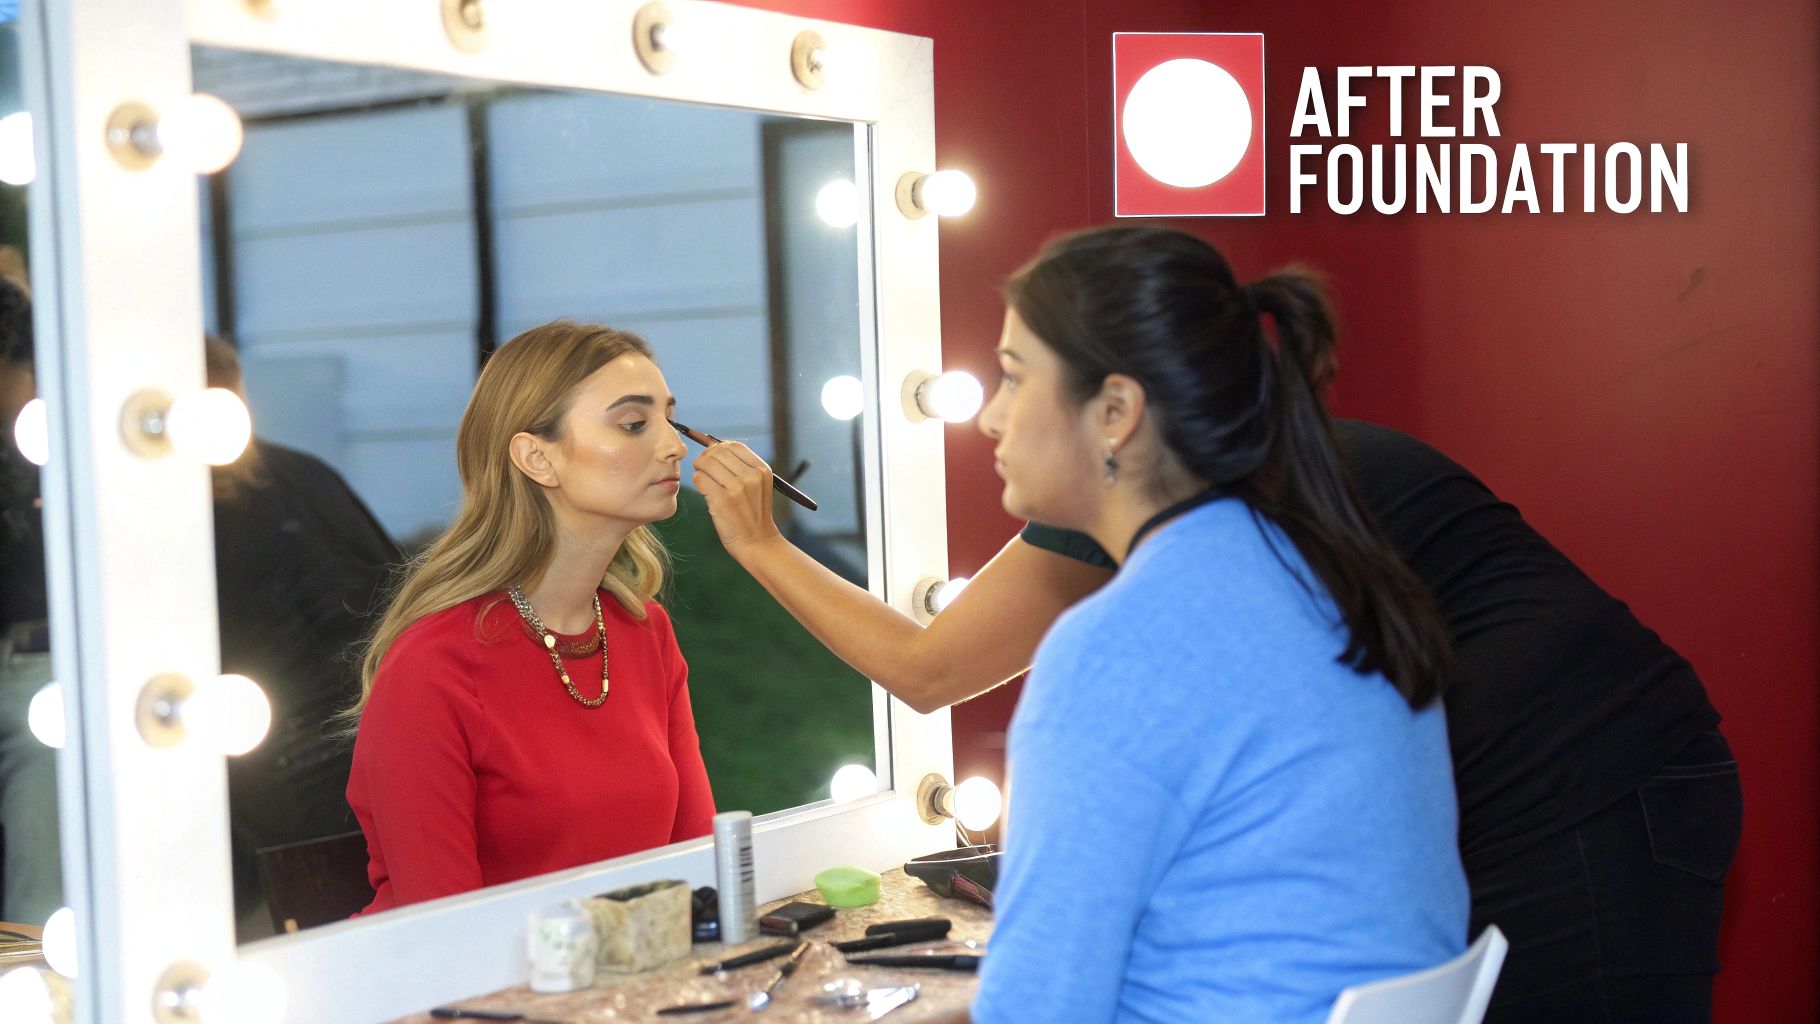
The Traditional Method: Contouring After Foundation
For as long as I can remember, this has been the way to do it. Contouring after your foundation is the undisputed classic for a reason—it gives you precision, control, and a serious sculpted effect.
This is the method you want when you’re aiming for a sharp, defined look that’s going to turn heads or look incredible in photos. It's all about creating bold, intentional shadows that really pop.
Starting with a smooth, even base of foundation creates the perfect canvas. With your complexion already perfected, you can layer your contour products right on top without worrying about them getting muddy or lost in the mix. This gives you total control over exactly where you place the contour and how intense you make it.
I always reach for this technique when I need a defined, high-impact finish. By applying contour over foundation, you make sure the shadows stay crisp and don't get diluted. It's a non-negotiable for photography and special events.
Why This Method Works So Well
The logic is pretty simple: a flawless base makes for flawless sculpting. When you apply your contour over your base makeup, you aren't messing with the products you've already put down. You’re just strategically adding that depth and dimension right where you want it.
This technique is a real hero in a few key situations:
- Glamorous Events: Think weddings or big parties where you want your best features to stand out.
- Photography Sessions: Sharp contouring is a must on camera. It keeps your face from looking flat under bright lighting.
- Stage Makeup: The intensity is perfect for making sure your features are visible, even from the back row.
For this to really work, the quality of your base is everything. Finding the right foundation makes all the difference. Check out some of the best clean foundations out there to give your skin a loving, even base to work with.
Whether you're a cream or powder contour person, applying it after foundation lets you blend without blending the effect away. You can start light and slowly build up the color, which is the key to getting a seamless but impactful result. The goal isn’t just shadow, it’s shadow that looks purposeful and perfectly placed.
The Underpainting Technique: Contouring Before Foundation
Welcome to the softer side of sculpting. Applying your contour before your foundation—a technique often called “underpainting”—is the secret to a completely seamless, natural-looking definition. If you’ve ever felt traditional contouring looks a bit too harsh or obvious, this method might be for you.
Instead of drawing sharp lines on top of your base, you’re placing the shadows directly onto your skin first. Then, you lightly press and blend your foundation over it. The result is a gorgeous, diffused shadow that seems to come from within, not like makeup just sitting on the surface.
Why Underpainting Is a Game-Changer
This technique really shines because it leans into the blendability of cream and liquid products. When you apply your contour and then stipple a lightweight foundation over the top, the products just melt together beautifully. It’s perfect for a few real-world situations:
- Everyday Definition: It creates a subtle cheekbone lift that’s perfect for the office or a casual weekend brunch, without looking like you tried too hard.
- Mature Skin: Because it avoids heavy layers of product, it’s fantastic for mature skin. There's less risk of it settling into fine lines or calling attention to texture.
- "No-Makeup" Makeup: Honestly, this is the cornerstone of a believable "no-makeup" look. It gives your face dimension that looks entirely natural.
The real magic of underpainting is diffusion. By putting the contour underneath, you let the foundation act as a sheer veil, blurring the edges and creating the most believable shadows you can get.
To take it a step further, you can also apply a brightening concealer to the high points of your face before foundation, right along with your contour. This adds a subtle lift that gets locked in under your base. For a look that’s both radiant and ethically produced, checking out the best organic concealers can help you find products that blend beautifully without harsh chemicals.
Ultimately, the whole contouring before or after foundation debate just comes down to the finish you’re after. If you're chasing that soft, skin-like sculpt that whispers instead of shouts, underpainting is your answer. It takes all the intimidation out of contouring and makes it totally accessible.
Alright, let’s get down to business. We’ve talked theory, but now it’s time to get our hands dirty (or, you know, perfectly sculpted). Whether you’re a classic contour-after-foundation person or you're curious about underpainting, a great blend is what stands between a muddy disaster and a snatched, seamless look.
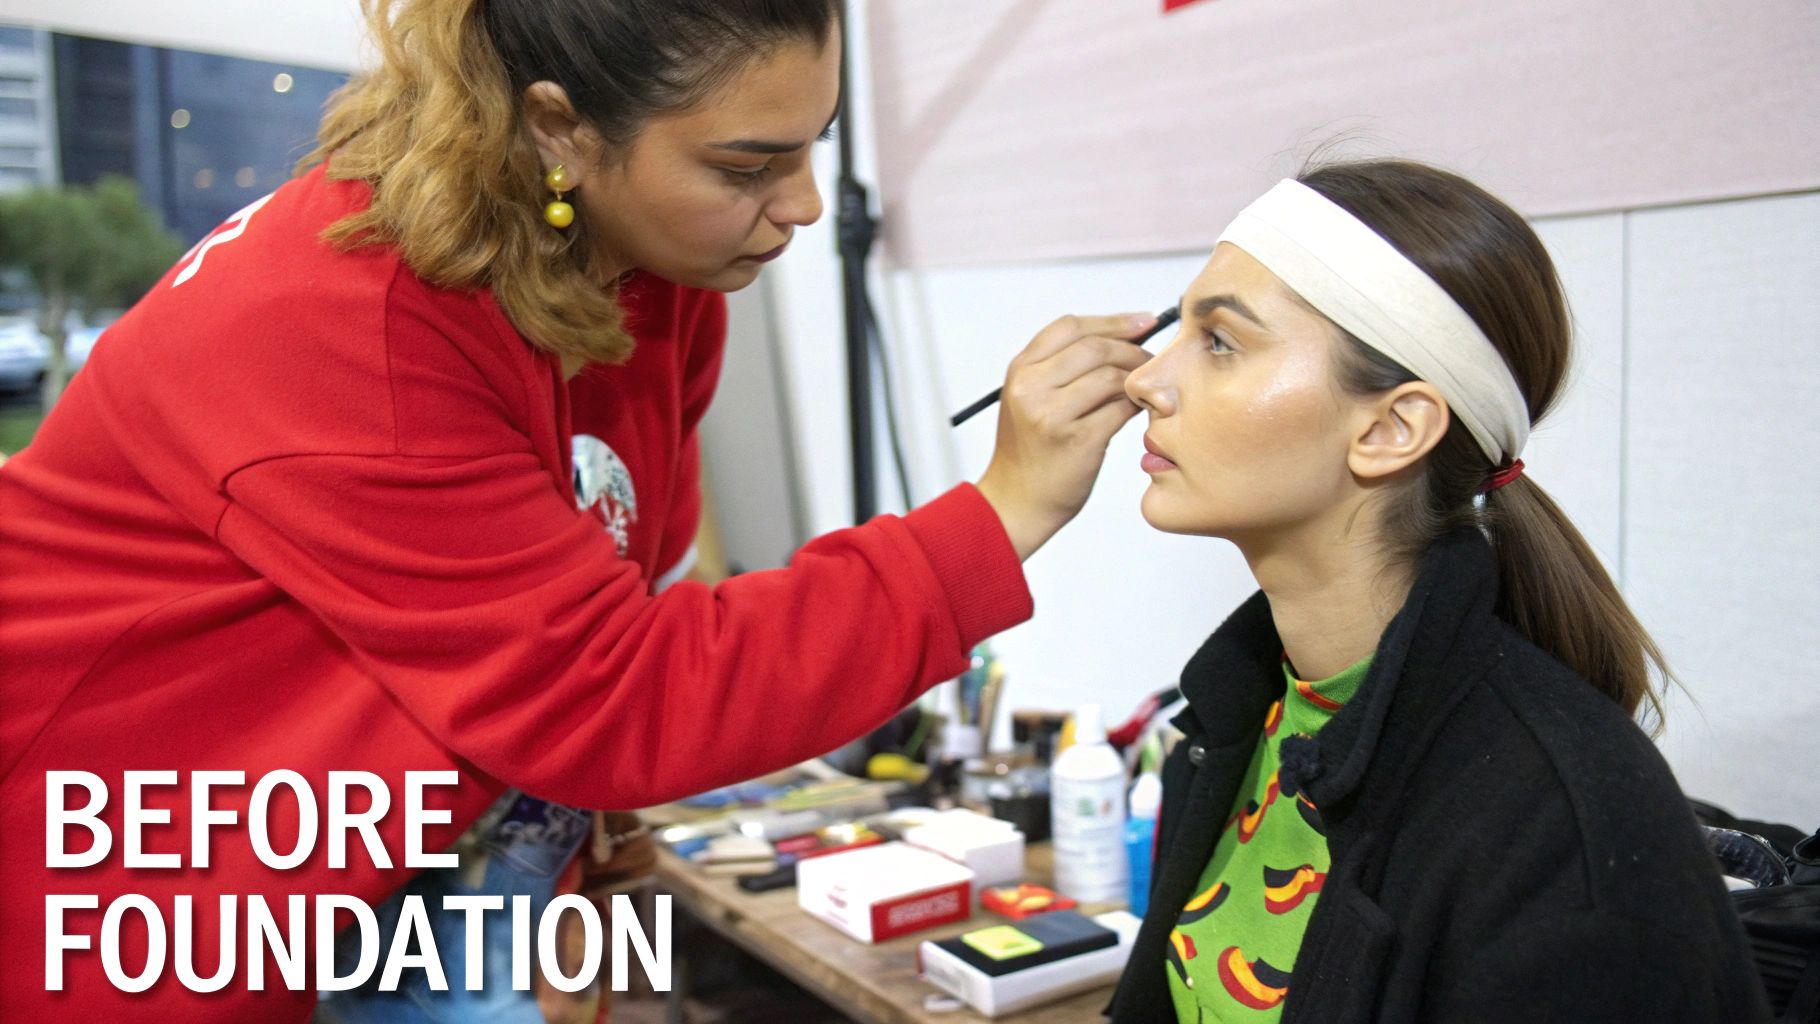
The absolute first step, no matter what, is good skin prep. Start with a clean, moisturized, and primed face. This gives you a smooth canvas and stops makeup from getting patchy or clinging to dry spots. It’s a non-negotiable for a flawless blend.
Find Your Angles: Mapping Your Face
The real magic of contour is in the placement. You want to enhance the shadows that would naturally be there. Forget those one-size-fits-all diagrams you see online and get to know your own bone structure.
- Cheekbones: Gently press along your cheeks to find the hollows. Your contour goes just underneath the bone itself—not deep in the hollow. This is what creates that lifted effect.
- Forehead: If you want to create a more rounded look, a little contour blended along your hairline does wonders to soften the area.
- Jawline: For a sharper jaw, trace your contour right along the bone. The trick is to blend it down your neck just a bit so there’s no harsh line.
- Nose: Okay, this one can be tricky. Draw two thin, parallel lines down the sides of your nose bridge. If you want that cute "button nose" look, connect them with a little line right under the tip.
The goal here isn't to create a whole new face—it's to enhance the beautiful one you already have. Always, always start with less product than you think you need. A light hand is your best friend, and you can always add more.
How-To: The Classic After-Foundation Method
So, you’ve got your foundation and concealer on and your base is looking perfect. This is the ideal time to go in for a more defined, polished contour that’s built to last.
First, grab your product. Powders are great over a foundation that’s already been set, while creams are best applied before you powder. Use an angled brush for powder or a dense brush/sponge for creams and apply the product to the spots we just mapped out.
Now for the blend. Use small, circular motions with your brush or a gentle stippling (bouncing) motion with a damp sponge. The most important part? Blend upwards on your cheeks. This is key for that lifted look. For your forehead and jaw, blend into the hairline and down the neck so everything looks completely seamless.
How-To: The Underpainting Method
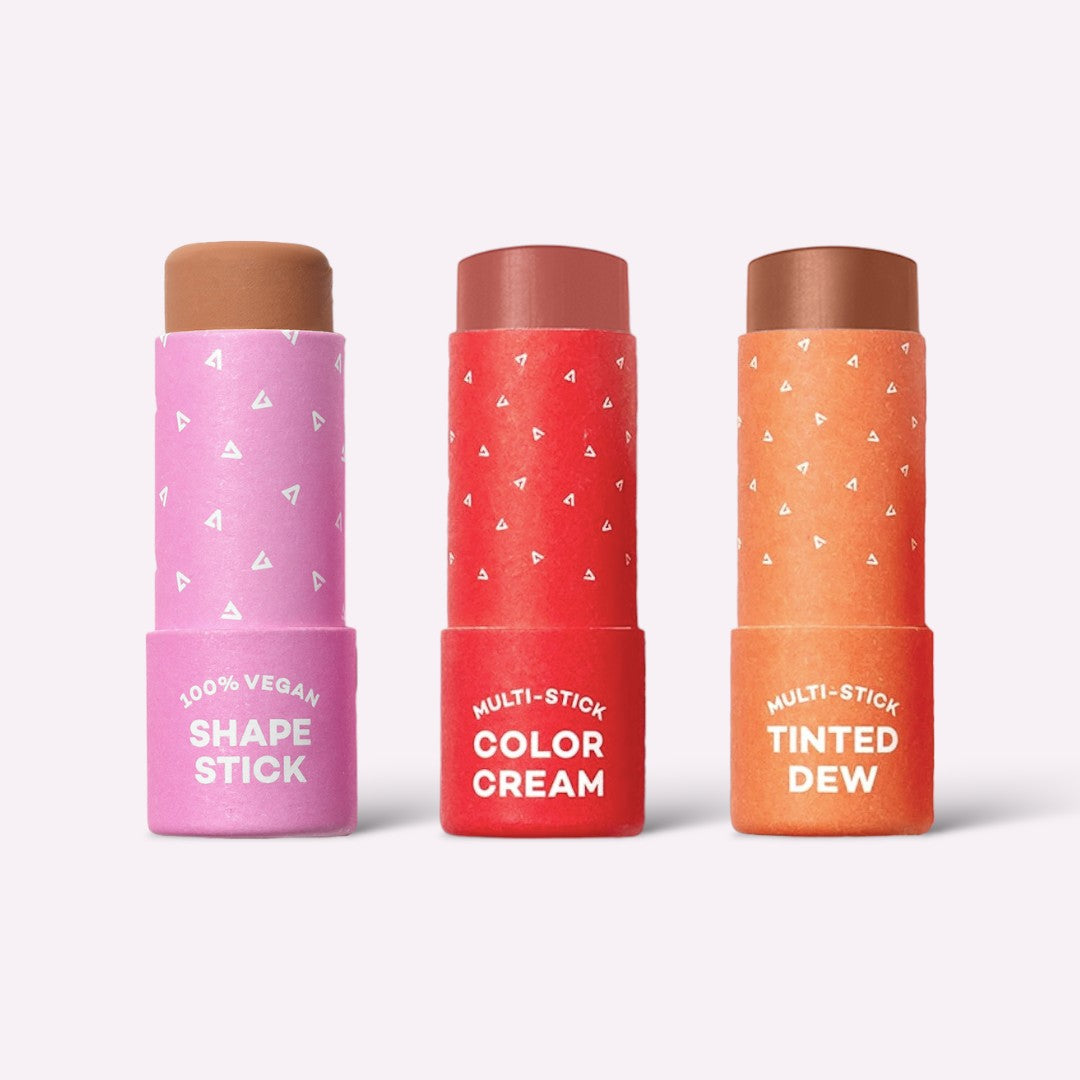
If you're after that super soft, "I woke up like this" finish, underpainting is your new best friend. This technique is all about cream or liquid products because they blend so beautifully. Axiology’s multi-use Shape Sticks are a dream for this—the creamy formula just melts right into the skin.
Start by applying the cream contour directly onto your prepped, moisturized skin. Blend the edges out a little with a sponge or even your fingers, but don’t stress about making it perfect yet.
Next, grab a light-to-medium coverage foundation and apply it over your entire face, right on top of where you placed the contour. The key here is to use a stippling motion with your brush or sponge to press the foundation in. This diffuses the contour underneath, making the shadows look like they’re coming from within. Whatever you do, don't swipe or rub—that will just smear the contour around and make a mess.
Pro Tips for a Seamless Sculpt
Ready to take your contour from good to really good? Whether you land in the contouring before or after foundation camp, a few tiny tweaks can totally change the game and give you that professional, just-left-the-makeup-artist's-chair finish.
Here's one of the biggest mistakes I see: using a warm, orangey bronzer for sculpting. Think about it—real shadows are never orange. They're cool-toned. Always, always grab a contour shade that’s neutral or has grayish undertones. This is the secret to creating believable definition that actually looks like a natural shadow on your face.
The Art of Blending and Building
The golden rule of contouring? Less is more. It’s a million times easier to add a little more product than it is to take it away. Start with the lightest touch and slowly build up the intensity. Trust me, this is how you avoid that heavy, muddy look and stay in complete control.
Once you’ve placed your contour, blending is everything. This part is non-negotiable. Grab a clean brush or sponge and soften any harsh lines until your sculpt just melts into the rest of your makeup.
Quick tip for my cream contour people: After you've blended, take a tiny bit of translucent setting powder and lightly press it over the contoured areas. This locks the cream in place so it won’t slide around, making your hard work last all day.
Mastering these little details will elevate your whole look. It’s not just about where you put the product; it’s about choosing the right tone, building it up slowly, and blending like your life depends on it. That’s what makes all the difference.
Your Contouring Questions Answered
Even when you feel like you've nailed the technique, a few questions always seem to pop up. Let’s tackle some of the most common contouring puzzles to help you streamline your routine and fix those little mistakes without a total meltdown.
One of the biggest questions I hear is, "Can't I just use my bronzer to contour?" While it seems like a smart shortcut, the answer is almost always no. Here's why: bronzers are made to mimic where the sun would naturally hit and tan your skin, so they have warm, often shimmery, undertones.
Contour products, on the other hand, are all about creating shadows. To look believable, they need to have cool or neutral undertones that create depth without looking like a random streak of orange. Trust me, using a bronzer to sculpt is a fast track to an unnatural, muddy-looking finish.
Cream or Powder: Which Is Better?
Ah, the great debate. Choosing between cream and powder contour really comes down to your skin type and the kind of finish you’re going for. Neither one is universally "better," but one will definitely play nicer with your skin.
- Cream Contour: This is a godsend for anyone with dry or mature skin. Creams just melt into the skin, giving you a dewy, natural finish that won’t settle into fine lines or cling to dry patches. They’re also the secret weapon behind that seamless "underpainting" look.
- Powder Contour: If you have oily skin, powder is your best friend. It helps soak up extra shine and gives you a more matte, locked-in finish that lasts all day. Powders are perfect for layering over foundation when you want a really defined, sculpted look.
Ever gone a little too heavy-handed with your contour? Don't panic and reach for the makeup remover. Just take a clean, damp makeup sponge—one with a tiny bit of leftover foundation on it is perfect—and gently press it over the harsh areas. This instantly softens and diffuses the pigment without messing up your base. It’s a game-changing fix that saves you from having to start all over.
Ready to perfect your sculpt with products that love your skin and the planet? Axiology offers clean, vegan, and plastic-free makeup to elevate your routine. Explore the collection.