We’ve all been there. You spend time carefully applying your foundation, hoping for a smooth, flawless finish, only to catch a glimpse of yourself later and see… a cakey mess.
It’s that classic makeup paradox: the very product meant to perfect your complexion ends up looking heavy, thick, and anything but natural. It settles into fine lines, clings to dry patches, and basically screams "I'm wearing a ton of makeup!"
If this sounds familiar, don't worry. The fix is usually less about the foundation itself and more about the how and why of your routine.
Why Your Foundation Looks Cakey (And How to Stop It)
So, what’s actually going on when your foundation decides to turn into a mask? The problem almost always comes down to a few surprisingly simple culprits that prevent the makeup from truly melding with your skin.
Think of it less as a product failure and more of a process issue. The good news? That means it's totally fixable.
Let’s Unpack the Common Causes
You might be surprised to learn that the journey to a flawless base starts long before you even open your foundation bottle. Most of the time, that heavy, textured look comes down to one of these missteps:
- Your Skin Isn't Prepped: Slapping foundation onto dry, flaky, or dehydrated skin is a recipe for disaster. The makeup has nothing smooth to adhere to, so it just sits on top and clings to any dry spots it can find.
- You're Using Way Too Much Product: This is probably the number one reason for cakey-ness. We tend to think more foundation equals more coverage, but piling it on is the quickest way to get that thick, unnatural finish. Less really is more.
- The Formula Isn't Right for You: Using a super matte, full-coverage foundation on already dry skin can exaggerate texture. On the flip side, a dewy, hydrating formula might slide right off very oily skin. It’s all about the right match.
- You're Rubbing It In: Vigorously rubbing foundation into your skin with your fingers or a brush can cause streaks and create an uneven, heavy layer. A gentle touch makes all the difference.
The thing is, foundation isn't meant to be a mask. It’s supposed to enhance your skin, not hide it completely. By tweaking your routine just a little, you can get a finish that actually looks and feels like a second skin.
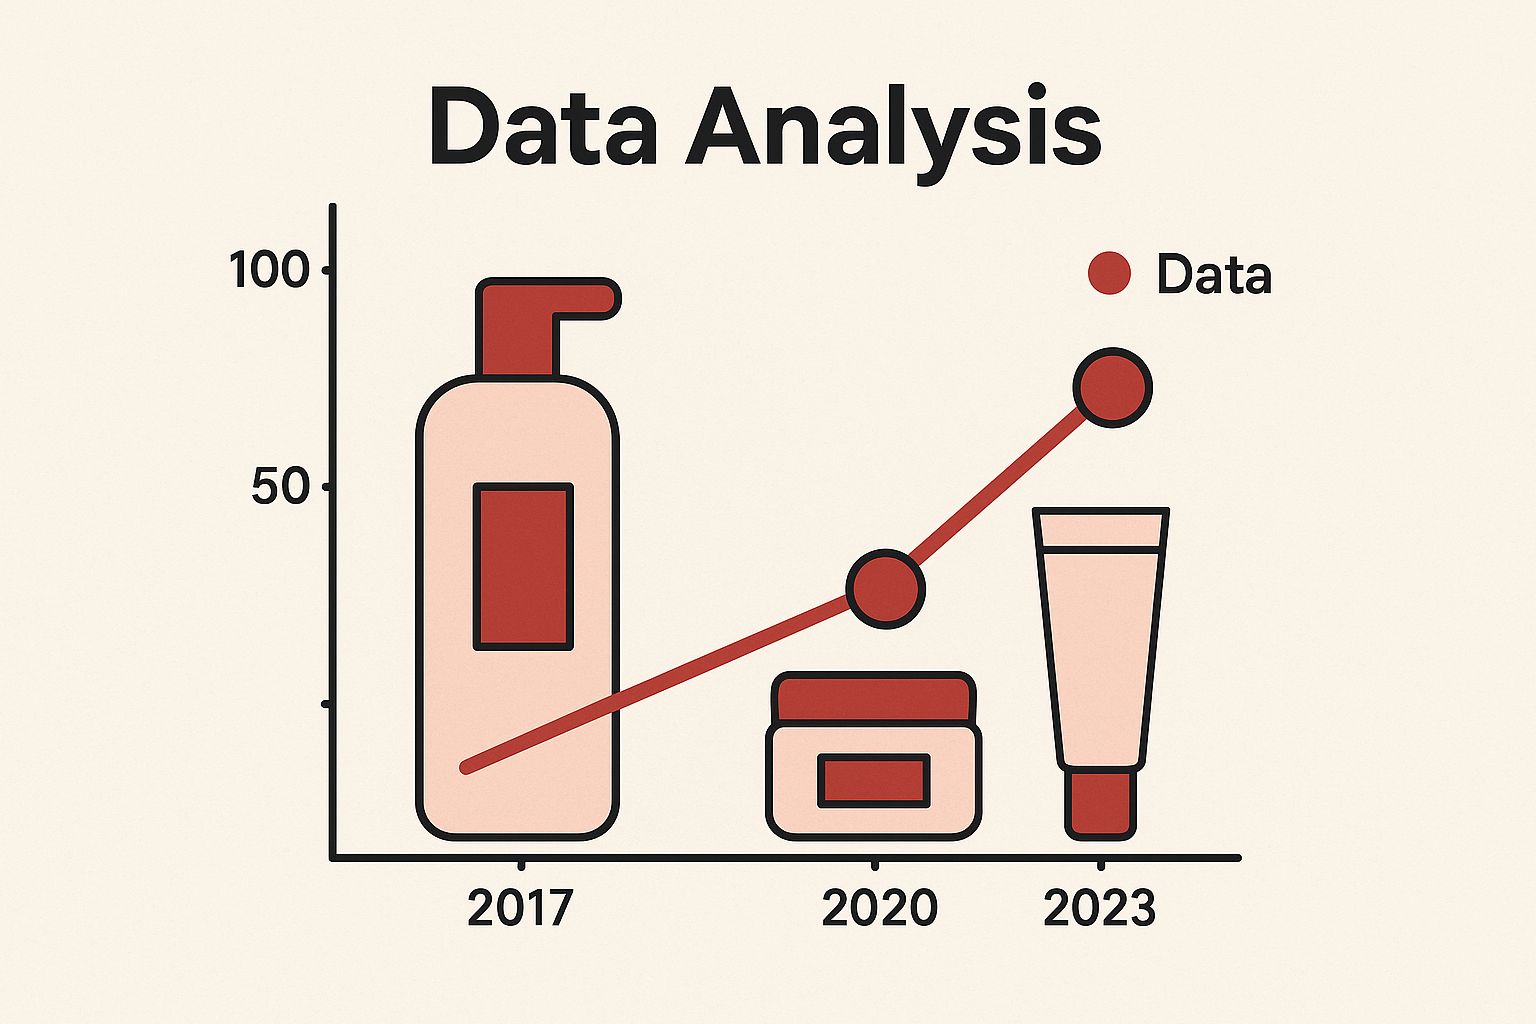
And this isn't just a niche problem. In a survey of 1,000 U.S. makeup users, over 40% said they deal with cakey foundation from time to time, especially those with dry or combination skin. That’s a huge number, especially when you consider foundation commands a massive 40.7% share of the global makeup base market. It's a big deal. You can read the full research about makeup base market trends to see just how dominant it is.
To make things even clearer, let's break down these common issues in a quick-glance table.
Common Causes of Cakey Foundation at a Glance
Sometimes, you just need a quick diagnosis to figure out what went wrong. This little cheat sheet connects the most common foundation mistakes with their root causes and points you toward a simple solution.
| Cause | Why It Happens | Quick Fix Teaser |
|---|---|---|
| Skipping Skin Prep | Foundation clings to dry patches and can't blend evenly on a rough surface. | Hydrate and exfoliate before makeup. |
| Applying Too Much | Overloading the skin creates a thick, artificial layer that settles into lines. | Start with a pea-sized amount and build. |
| Wrong Formula | A matte formula on dry skin or a dewy one on oily skin will exaggerate texture. | Match your foundation finish to your skin type. |
| Aggressive Application | Rubbing and dragging the product creates streaks and uneven buildup. | Press and stipple, don't wipe. |
Think of this table as your starting point. By identifying the likely culprit, you're already one step closer to that smooth, second-skin finish we're all after.
The Unskippable First Step Perfecting Your Skin Prep
Think of your skin like a canvas. You wouldn't start painting on a surface that's rough, dry, or uneven, right? The same goes for foundation. The real secret to a seamless, non-cakey finish begins long before you even pick up your foundation bottle. It's all about what you do beforehand.
This isn't some complicated, 12-step ritual. It really just boils down to three key things that get your skin balanced and ready: gentle exfoliation, the right moisturizer, and a good primer. Nailing this trio is what makes your foundation glide on and look like actual skin, instead of sitting on top like a mask.
The Power of a Clean Slate
You can't build a beautiful house on a shaky foundation, and you can't get a smooth makeup application over yesterday's grime and dead skin. Cleansing is a given, but exfoliation is the step that really changes the game. Dead skin cells are the number one culprit behind a patchy, cakey look because they create a rough surface for makeup to cling to.
Getting rid of that buildup is easy. Just be gentle, and only do it one to three times a week. You’ve got a couple of great options:
- Chemical Exfoliants: These sound intense, but they're incredibly effective. Products with Alpha-Hydroxy Acids (AHAs) or Beta-Hydroxy Acids (BHAs) gently dissolve the gunk holding dead cells together. A toner with glycolic or lactic acid is a fantastic, easy way to do this.
- Physical Exfoliants: This just means using a product with fine particles to manually buff your skin. The key word here is gentle. Look for soft, rounded particles and steer clear of anything harsh or jagged that could cause tiny tears in your skin.
A solid routine is the bedrock of good makeup. If you're curious about the optimal skincare routine order, it's worth a read to make sure every product is doing its job. And remember, great skin starts from the inside out—you can even learn how to prep your skin with food first!
Hydration is Non-Negotiable
Right after you exfoliate is the perfect time to moisturize. Your skin is primed and ready to soak up all that goodness, and hydration is what creates a plump, smooth surface. Trying to put foundation on dehydrated skin is like painting a dry, cracked wall—the paint just sinks into the cracks and looks patchy.
Finding the right moisturizer is everything, and it's totally dependent on your skin type. If you're oily, a lightweight gel moisturizer will give you the hydration you need without feeling greasy. If you're on the drier side, your skin will thank you for a richer, more nourishing cream to create that supple base.
Here's a common mistake I see all the time: people with oily skin skipping moisturizer. Your skin is smart! When it's dehydrated, it actually produces more oil to compensate, which just makes foundation break down and get cakey faster. Hydration is all about balance.
This infographic breaks down the simple but crucial steps for getting your skin ready.
It’s a great visual for how each step—cleansing, exfoliating, moisturizing, and priming—builds on the last one to create that perfect canvas.
Priming for Perfection
Primer is the final step, the bridge between your skincare and your makeup. Think of it as the ultimate canvas perfector. It creates a smooth, gripping surface for foundation to stick to, which makes a massive difference in how long your makeup lasts and prevents that cakey texture from showing up later in the day.
Just like moisturizers, primers are definitely not a one-size-fits-all product. A hydrating primer is a lifesaver for dry skin, giving it that extra boost of moisture. For oily or textured skin, a pore-filling or mattifying primer works wonders by creating a flawless, velvety base. It’s your insurance policy against a makeup meltdown.
Choosing Your Foundation Formula and Tools Wisely
The makeup aisle can feel like an absolute maze, but getting a handle on foundation formulas is your secret weapon against a cakey finish. Not all foundations are created equal, and that gorgeous, full-coverage matte formula your favorite influencer raves about might be the very reason your own makeup looks heavy and dry.
Your skin type is your ultimate guide here. Seriously. When a foundation works with your skin's natural tendencies, it blends seamlessly. The wrong one will fight you every step of the way, leading straight to that dreaded, layered-on look. The goal is always to find a product that enhances, not hides.
Matching Your Formula to Your Skin
Think of this as a matchmaking service for your skin and foundation. The right pairing is everything if you want to fix cakey foundation for good.
If you have oily or combination skin, a matte or oil-free liquid foundation is almost always your best bet. These formulas are specifically designed to control shine and stay put without sliding all over your face. Powder foundations can also be a game-changer, since they help absorb excess oil throughout the day.
For those with dry or dehydrated skin, the opposite is true. A matte formula will cling to every single dry patch and just emphasize texture you didn't even know you had. Instead, reach for hydrating or luminous liquid foundations. Formulas with ingredients like hyaluronic acid or glycerin give you that dewy, skin-like finish that looks plump and healthy.
This move toward lighter, more skin-friendly formulas isn't just a hunch; it's a global trend. In Europe, where clean beauty reigns, over 60% of new foundation launches now claim to be ‘natural’ or ‘organic.’ Even more telling, about a third of foundation users under 40 say they prioritize ‘light coverage,’ with 45% stating a cakey texture is the main reason they avoid heavy formulas. You can dive deeper into these makeup market insights on grandviewresearch.com.
Pro Tip: Don't feel like you have to commit to one level of coverage for your whole face. Even if you love a full-coverage formula, try using it sparingly—almost like a concealer—only in the specific areas where you need it most.
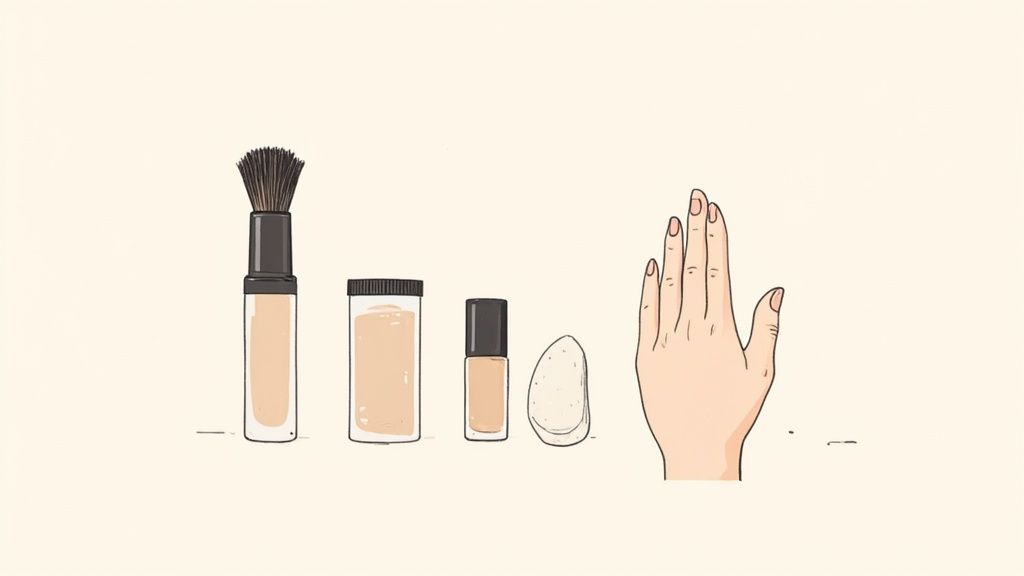
The Right Tools for a Flawless Finish
How you apply your foundation is just as critical as the product itself. The tool you choose directly impacts the coverage and finish, and it can mean the difference between a seamless blend and a heavy mask.
To make things easier, I've put together a quick guide to help you find the perfect match for your skin type.
Foundation and Tool Pairing Guide by Skin Type
| Skin Type | Recommended Foundation Formula | Best Application Tool | Pro Tip |
|---|---|---|---|
| Oily / Combination | Matte, oil-free liquid, or powder | Damp sponge or a dense kabuki brush | After applying, press a clean, dry part of your sponge over oily areas to lift excess product. |
| Dry / Dehydrated | Hydrating, luminous, or serum-infused liquid | Your fingertips or a damp sponge | Mix a tiny drop of facial oil into your foundation on the back of your hand before applying. |
| Normal | Satin-finish liquid or cream foundation | Damp sponge for a sheer look, brush for more coverage | You have options! Experiment to see what finish you prefer for different occasions. |
| Mature Skin | Lightweight liquid or tinted moisturizer | Your fingertips or a stippling brush | Focus on stippling (patting) motions instead of wiping to avoid settling into fine lines. |
| Acne-Prone | Oil-free, non-comedogenic liquid or powder | A clean, damp sponge | Always use a clean tool for every application to prevent spreading bacteria. Tap, don't drag. |
This table is a great starting point, but remember that makeup has no hard-and-fast rules. Let's dig a little deeper into why these tools work so well.
Here’s a breakdown of how the most popular tools stack up:
-
Damp Makeup Sponge: This is the undisputed hero for preventing cakey makeup. A damp sponge (think Beautyblender) soaks up any excess product, which means you only deposit a thin, even layer. Bouncing or stippling the sponge actually presses the foundation into the skin for that natural, airbrushed effect we all crave.
-
Dense Foundation Brush: A dense, flat-top or kabuki brush is perfect for buffing foundation into the skin to get more coverage without the weight. The key is to use stippling motions—gentle patting—instead of dragging or wiping. Wiping is what creates streaks and a heavy, painted-on finish.
-
Your Fingertips: Never underestimate the power of your own hands! The warmth from your fingers helps melt the product, allowing it to blend beautifully and look like a second skin. This method is fantastic for applying tinted moisturizers or sheering out a thicker foundation.
Mastering Your Application Technique
Okay, you’ve done your skin prep and found the perfect foundation. But how you actually put it on your face is where the real magic happens—or where things can go wrong. The number one rule I tell everyone is simple: less is always more. The point is to even out your skin tone, not bury it under a mask.
It turns out this is a huge frustration for makeup wearers everywhere. The Asia Pacific region, for instance, holds a massive 31.9% market share for foundation sales. A super telling survey from South Korea found that a wild 52% of women between 18 and 35 said cakey foundation was their biggest makeup problem. If you’re a numbers person, you can see more on the global cosmetics foundation market on dataintelo.com.
Start Small and Blend Outwards
Fight the urge to dot foundation all over your face like you see in old-school tutorials. Seriously, don't do it. Instead, put a tiny, pea-sized amount on the back of your hand. This does two things: it warms up the product so it melts into your skin better, and it gives you total control over how much you use.
Start applying in the center of your face—around your nose, the middle of your forehead, your chin. This is usually where most of us have redness or uneven tone. From there, blend the foundation outwards toward your hairline and jaw. This creates a natural-looking fade, so you get coverage where it counts without a harsh makeup line.
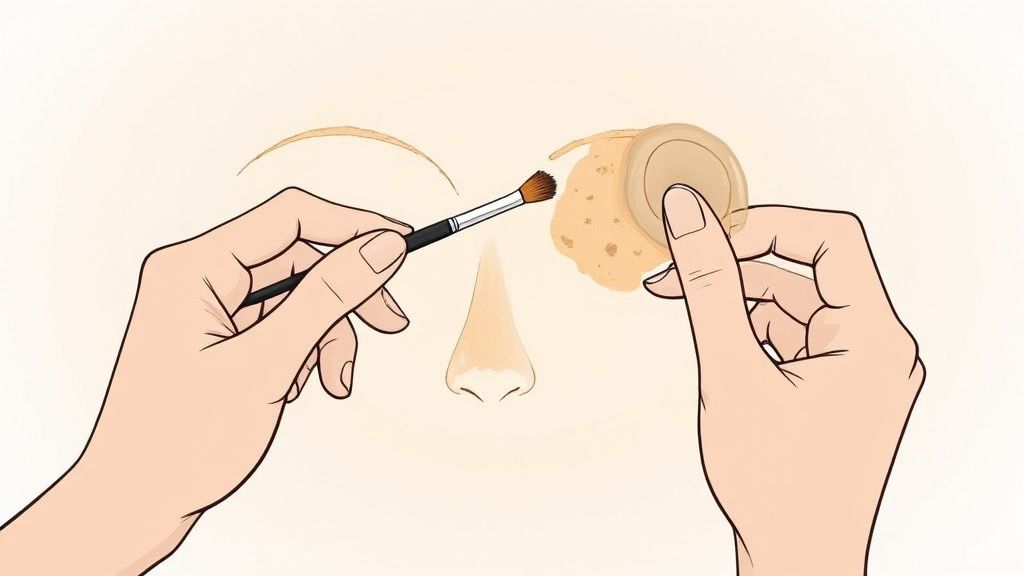
Master Your Blending Motion
How you move your tool is just as crucial as where you put the product. Wiping or rubbing is a big no-no. That just pushes foundation around, leaving you with streaks and a thick, gloopy layer. Let’s not do that.
Instead, try these techniques:
- Stippling with a Brush: This is just a fancy word for gently tapping or patting the brush on your skin. It presses the foundation in, giving you a smooth, almost airbrushed finish without messing up what's underneath.
- Pressing with a Sponge: If a damp sponge is your tool of choice, use a bouncing or pressing motion. This sheers out the foundation for a super natural look and helps it become one with your skin. If you want a deep dive on this, check out our guide on how to apply foundation with a sponge.
Here's a pro tip I swear by: always check your makeup in different lighting, especially natural daylight. What looks perfect in your bathroom can look patchy and unblended outside. This little check takes two seconds and can save you from a makeup mishap.
Set Your Makeup Strategically
The final touches are your last line of defense against cake-face. A common mistake is dusting powder all over, which can instantly suck the life out of your skin and create that heavy, dry look. It’s all about being strategic.
Grab a small, fluffy brush and lightly apply a translucent powder only where you get oily. For most people, that’s the T-zone (forehead, nose, and chin). This targeted approach controls shine without making your whole face look flat and dull.
Finally, a hydrating finishing mist is an absolute game-changer. A few spritzes will literally melt all the layers together—foundation, powder, everything—and get rid of any powdery look. It leaves you with that gorgeous, healthy, skin-like finish and locks it all in place. It's the perfect final step.
On-The-Go Fixes for Midday Makeup Meltdowns
Even with the most perfect prep, life happens. You catch a glimpse in the mirror after a few hours and realize your foundation has started to look heavy, especially around your nose or settling into smile lines. We've all been there.This midday meltdown doesn't mean you need to wash your face and start over. But the biggest mistake I see people make is trying to fix it by piling on more product. Another layer of powder or foundation almost always makes that cakey texture worse.
The real secret? Rehydrate and re-blend what you’ve already got on.
Your Essential Touch-Up Kit
Being prepared is half the battle. You don't need to carry your whole makeup bag around—just a small, portable kit can save you from any makeup emergency. A few key items are all it takes to restore a smooth, fresh finish.
Here’s what I always have in my bag:
- Blotting Papers to gently lift away excess oil without messing up your makeup.
- A Hydrating Facial Mist to bring moisture back into the foundation and make it workable again.
- A Mini Makeup Sponge or even a clean finger for some quick, precise blending.
This simple trio can completely reset your makeup in under two minutes. It’s a non-negotiable for my purse.
The Blot, Press, and Blend Method
When you notice your foundation separating or looking cakey, resist the urge to rub or smudge it. Instead, this simple three-part technique will seamlessly fix your foundation. The whole idea is to subtract the oil and add back just enough moisture to revive things.
First, grab a blotting paper and gently press it onto the oily or cakey areas. Don't wipe or drag it. You’re just looking to absorb the excess shine that’s making your makeup break down. This step alone makes a huge difference.
Next, hold your hydrating facial mist about six to eight inches from your face and give the troubled spots a very light spritz. You just want to dampen the area, not drench it. This reintroduces moisture, which helps the dried foundation "melt" and become pliable again.
The final step is the most crucial for a flawless fix. Using your clean fingertip or a mini damp sponge, gently press and tap over the misted area. This motion re-blends the foundation back into your skin, smoothing over any lines or patches without adding any new product.
This technique is an absolute lifesaver for long days. For more tips on making your look last from morning to night, check out our full guide on how to make makeup last all day.
Your Top Questions About Cakey Foundation Answered
Even when you do everything right, some tricky situations pop up and leave you wondering what went wrong. Let's get into some of the most common questions about fixing cakey foundation so you can nail that flawless, second-skin finish every single time.
Does Setting Spray Really Prevent Cakey Foundation?
Yes, but here's the catch—you need to know the difference between a "setting" spray and a "finishing" spray. They sound the same, but they do totally different jobs.
A setting spray is basically hairspray for your face; it's designed to lock your makeup in place and make it last longer. But a finishing spray or hydrating mist? That's the real hero when you're fighting cakeiness.
Its main job is to melt all the layers of makeup—primer, foundation, powder—together seamlessly. This little trick gets rid of any dry, powdery look and brings back a natural, skin-like texture. For the best of both worlds, lightly set your oily spots with powder, then spritz a hydrating finishing mist all over.
Why Does My Foundation Look Cakey Under My Eyes?
Ah, the dreaded under-eye crease. That skin is super delicate and has more fine lines, making it prime real estate for creasing and cakiness. The usual suspects? A concealer that’s way too thick or going overboard with the setting powder. Hydration and using minimal product are your best friends here.
To fix it, try this:
- Start with a lightweight, hydrating concealer.
- Apply just a few tiny dots only where you actually need coverage (usually the inner corner).
- Gently blend it out with your ring finger. The warmth from your skin helps it melt in beautifully.
- If you need to set it, use a tiny amount of a finely milled powder and press it in with a puff, not a brush. This gives you a much smoother finish.
The under-eye area requires a less-is-more approach. Overloading it with heavy products is a guaranteed recipe for a cakey, creased result. Keep it light and targeted.
Can I Mix My Foundation with Something to Make It Less Cakey?
Absolutely! This is one of my favorite pro-artist tricks for customizing your foundation's finish. Mixing in a drop of another product can instantly sheer it out, add a boost of hydration, and give you a gorgeous, radiant look. It’s a game-changer.
Try adding a single drop of one of these to your foundation on the back of your hand before applying:
- A hydrating facial oil
- A liquid illuminator or highlighter
- Your favorite daily moisturizer
This is especially great for making a full-coverage foundation more wearable for everyday life, making sure it never looks heavy or flat.
My Foundation Gets Cakey After a Few Hours. Why?
Ugh, this is the most frustrating one. It usually points to an imbalance in your skin that crops up during the day.
If your skin is oily, the excess sebum is probably breaking down your foundation, causing it to separate and look chunky. A good mattifying primer and carrying blotting papers will help you stay ahead of the shine.
On the other hand, if your skin is dehydrated, it might be drinking up the moisture from your foundation. This leaves behind just the pigment, which then looks dry and patchy. The fix is to make sure your skin is deeply moisturized before makeup and to use a hydrating primer to create a barrier.
At Axiology, we believe your foundation should work with your skin, not against it. Our innovative formulas, like the mushroom-infused Fungdation, are designed to provide buildable coverage while nourishing your skin for a seamless, non-cakey finish that lasts. Discover a kinder, more conscious approach to beauty at https://www.axiologybeauty.com.