Let's be real—getting that perfect, streak-free foundation finish is all about the tools and how you use them. The absolute key to applying foundation with a sponge? A damp sponge and a gentle bouncing motion.
This technique is called stippling, and it’s a total game-changer. Instead of wiping or dragging the product across your face, you’re pressing it into the skin for a seamless, almost-airbrushed look. It’s the secret to getting professional-level results at home, without a hint of cakiness. What you're left with is a base that truly looks and feels like a second skin.
The obsession with makeup sponges isn't just a fleeting trend; it’s a genuine shift toward a better way to apply makeup. The global market for these little tools skyrocketed to around USD 5.68 billion back in 2021, and for good reason. We’re all chasing that flawless, even finish, and sponges deliver. You can read more about makeup sponge market trends here.
So, what makes this simple tool so powerful?
- Seamless Blending: The damp, porous surface is a miracle worker. It diffuses liquid and cream products perfectly, melting them into your skin instead of just sitting on top.
- Buildable Coverage: You're in complete control. You can start with a sheer layer and then add more product only where you need it, which is the best way to avoid that heavy, overdone look.
- Airbrushed Finish: That gentle bouncing motion does more than just apply foundation—it fills in pores and blurs fine lines, creating a much smoother canvas than you'd ever get from rubbing or swiping.
Core Principles for Perfect Sponge Application
To get right to the point, a few key actions make all the difference. Mastering these simple steps is what separates a good foundation day from a great one.
| Core Action | Why It's a Game-Changer |
|---|---|
| Dampen the Sponge | Prevents the sponge from soaking up all your product and helps blend foundation into the skin for a natural, dewy finish. |
| Use a Bouncing Motion | Gently pressing (or stippling) the foundation onto your skin builds even, streak-free coverage without disturbing texture. |
| Apply Product to Hand First | Gives you control over how much foundation you use and helps warm it up for a smoother application. |
| Clean It Regularly | A clean sponge is crucial for preventing breakouts and ensuring your makeup applies smoothly every single time. |
Think of these as the fundamentals. Once you have them down, you're well on your way to a flawless base every time you do your makeup.
Choosing and Prepping Your Sponge Correctly
Let's be real: not all makeup sponges are created equal. Your choice here seriously impacts how your foundation looks in the end. The classic teardrop sponges? Those are brilliant for getting a sheer, dewy glow. They're super forgiving and blend out liquid foundations beautifully.

On the other hand, you have the non-porous silicone sponges that have gotten a lot of buzz. The big deal with these is that they don't waste a single drop of product. Since they can't absorb foundation, everything goes directly onto your skin, making them a hygienic and super-efficient choice if you're trying to make your products last.
The Most Important Step: Soaking Your Sponge
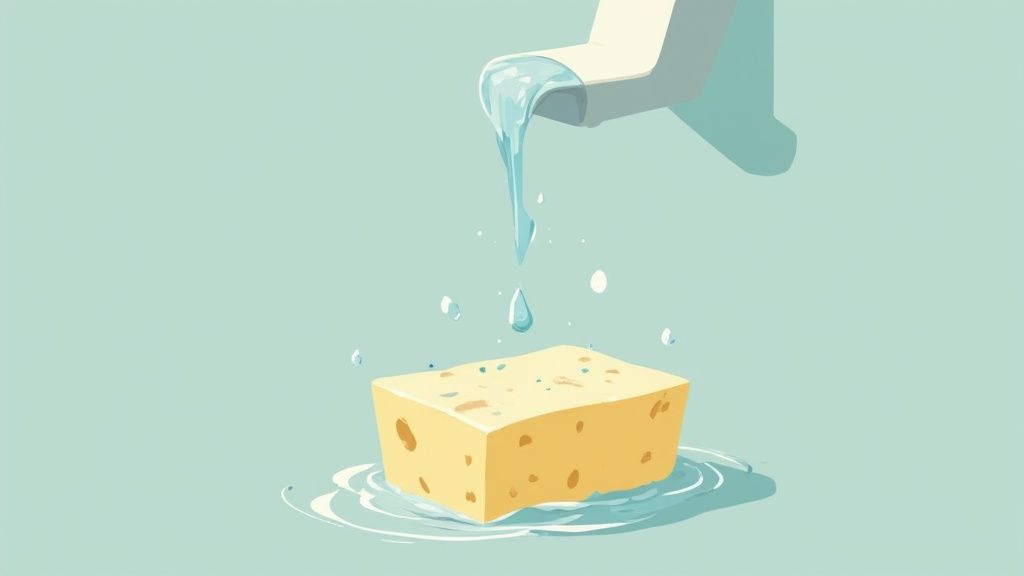
No matter which sponge you go with, the most crucial step happens before you even open your foundation: getting it properly damp.
This isn’t just a quick rinse. You need to hold it under the tap until it visibly swells up, often to about double its original size.
Once it's fully saturated, you have to squeeze out all the extra water. You're aiming for a sponge that feels springy and soft, not sopping wet. This simple prep step is what keeps the sponge from drinking up all your expensive foundation.
Key Takeaway: A perfectly damp sponge keeps the foundation sitting right on the surface, ready to be bounced onto your skin. This one thing is the difference between a seamless, second-skin finish and a patchy mess that wastes half your bottle.
Nailing this prep work is non-negotiable if you want to learn how to apply foundation with a sponge the right way. It guarantees a smoother application and makes your products go so much further.
Of course, a great makeup look always starts with a happy, prepped face. To get the most out of your routine, check out our guide on how to prep your skin before makeup.
Time to Blend: Getting That Seamless Foundation Finish
Alright, your sponge is prepped and ready to work its magic. The first thing I always do is pump a little foundation onto the back of my hand. This little trick does two things: it warms the product up, making it way easier to blend, and it gives you total control over how much you pick up.
Now, take the rounded, bigger end of your damp sponge and gently dip it into the foundation. You really don't need to load it up. Seriously, a little bit of product goes a long way when your sponge is properly damp. The idea is to pick up just enough for a light, even coat.
It’s All About the Bounce
Here's where the real secret to how to apply foundation with a sponge comes in. Forget everything you know about wiping or dragging foundation across your face. Instead, you're going to use a gentle bouncing or stippling motion.
Just lightly press and bounce the sponge all over your skin. I like to start in the center of my face—around the nose and cheeks—and work my way outwards. This motion doesn't just smear the makeup on top; it actually presses it into your skin. The result is this gorgeous, airbrushed look that blends so seamlessly, it looks like you're not wearing anything at all. No streaks, no harsh lines. It's a total game-changer for that second-skin vibe.
Use that big, rounded bottom for the larger planes of your face, like your cheeks, forehead, and chin. It covers a lot of ground quickly and gives you a beautiful, diffused finish.
But what about the tricky spots? Just flip the sponge over and use the pointed tip. It’s perfectly shaped for getting into all those little nooks and crannies:
- Blending around your nostrils
- Applying product right up under your eyes
- Navigating the area around your eyebrows
That dual-ended design is honestly what makes these teardrop sponges so indispensable. You get both broad coverage and pinpoint precision from one simple tool.
Build It Up, Don’t Cake It On
One of the best things about this method is the control you have over your coverage. That bouncing technique naturally lays down a sheer, even layer. If you have areas that need a little more love—like redness or a blemish—you can just go back and stipple another thin layer right on top.
My biggest piece of advice? Always build your coverage in thin layers instead of globbing on one thick coat. This is how you avoid that heavy, cakey look and get a finish that truly melts into your skin.
This layering technique lets you customize your look from sheer to full coverage without ever looking overdone. Once you've got your foundation looking flawless, you can move on to the rest of your routine. A lot of people ask about the best order for products, and figuring out contouring before or after foundation, for example, can really take your look to the next level.
And remember, before you even pick up your foundation, proper skin prep is everything.
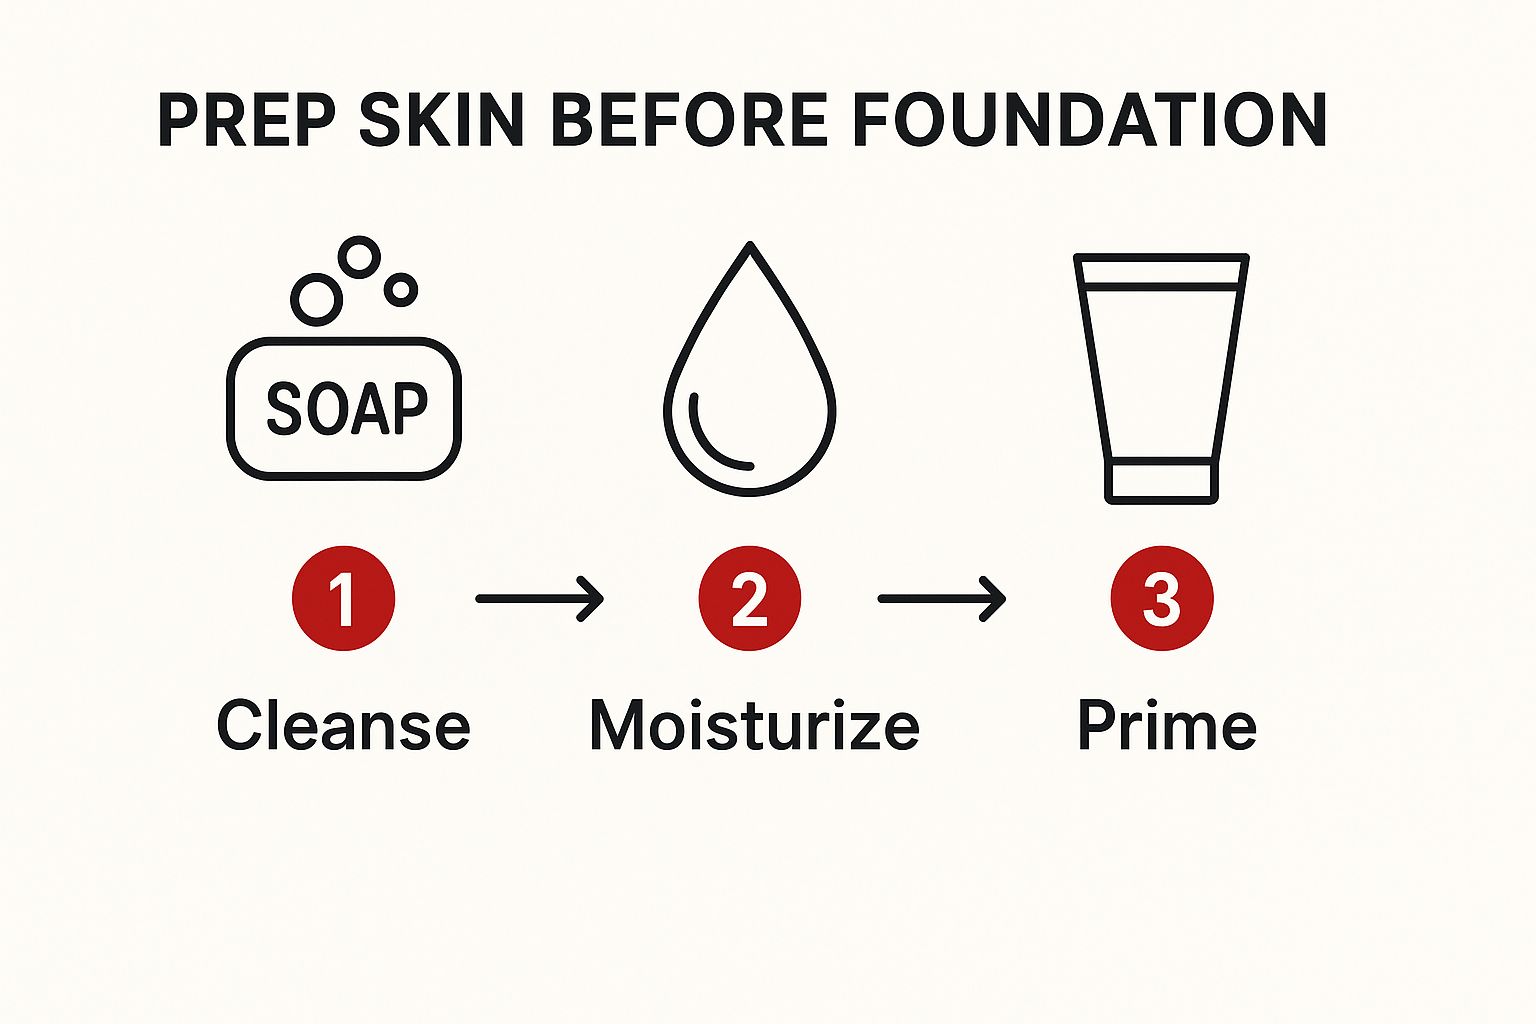
As you can see, a great makeup day always starts with a clean, moisturized, and primed canvas. It makes all the difference in how smoothly your foundation glides on.
Advanced Techniques for a Professional Finish
Once you've nailed the basic stippling motion, your makeup sponge really starts to show its versatility. It's not just about getting a smooth foundation layer; it’s about using that same tool to seamlessly blend everything from concealer to cream contour for a truly professional look.
For concealer, that pointy tip is your best friend. I use it to gently press and tap product right into the under-eye area, which melts the edges into my foundation without leaving any harsh lines. The same idea applies to cream blushes and contours—the soft, damp surface of the sponge diffuses the pigment so beautifully, giving you a natural-looking flush or shadow.
Setting and Perfecting Your Look
A damp sponge is also my secret weapon for setting makeup for the long haul. After all your liquid and cream products are on, you can try a technique sometimes called "soft baking."
- Load Your Sponge: Lightly dip the damp, rounded end of your sponge into a loose translucent powder.
- Press and Set: Gently press the powdered sponge onto areas that tend to get oily or where makeup might crease, like under your eyes and along the T-zone.
This little trick locks everything in place and gives you an incredibly smooth, almost airbrushed finish that lasts. If you’re hungry for more ways to keep your makeup looking fresh, we've got more tips on how to make your makeup last all day.
Pro Tip: We've all been there—you apply just a little too much blush. Instead of wiping it off and starting over, just grab a clean side of your damp sponge and gently bounce it over the area. It’ll lift away the excess product without messing up the makeup underneath.
It’s no surprise that these little tools have become so essential. The market for cosmetic applicator foam, which includes makeup sponges, was valued at USD 1.27 billion in 2024 and is expected to more than double to USD 2.84 billion by 2032. It just goes to show how much we all value tools that help us achieve that precise, flawless finish.
How to Clean and Maintain Your Makeup Sponge
Let's be real: a pristine sponge is non-negotiable for both healthy skin and a flawless application. Think of it this way: every single time you use your sponge, it’s soaking up oils, dead skin, and bacteria from your face.
If you don't wash it regularly, you're just dabbing that gross buildup back onto your skin day after day. It's a perfect recipe for clogged pores and surprise breakouts. No, thank you.

Keeping your sponge clean is actually way easier than you might think. Just run it under warm water, add a few drops of a gentle soap or a dedicated sponge cleanser, and work it into a nice, rich lather.
Squeeze and rinse it over and over again until the water runs completely clear. You'll be surprised (and maybe a little horrified) by how much foundation comes out.
A quick heads-up: be gentle! You don't want to tear the delicate foam. Once it's clean, give it one last firm squeeze to wring out all the excess water. Then, just set it out to air-dry somewhere with good ventilation. Whatever you do, never toss it into a sealed bag or drawer while it's still damp—that’s a one-way ticket to a mold and mildew party.
Knowing When to Say Goodbye
Even with the most diligent cleaning routine, your favorite sponge won't last forever. It’s time for a replacement when you start noticing signs of wear and tear that mess with its performance.
Key Takeaway: Makeup sponges should be replaced every 1-3 months, depending on how often you use them. This regular turnover is essential for keeping your skin happy and your makeup looking seamless.
Keep an eye out for these tell-tale signs that it's time to break up with your sponge:
- Permanent Stains: If those deep-set foundation stains just won't wash out, it's a good sign the sponge is past its prime.
- Rips or Tears: Small nicks can quickly become bigger tears, and that will totally affect how smoothly your foundation goes on.
- Changes in Texture: If your sponge starts to feel weirdly dense, loses its signature bounce, or even begins to crumble a bit, its blending magic is officially gone.
Got Questions About Your Foundation Sponge?
Even when you feel like you've got the hang of how to apply foundation with a sponge, a few nagging questions always seem to come up. Let’s clear the air on some of the most common issues so you can get that perfect finish every time.
One of the biggest questions I hear is, "Do I really need to get it wet?" The answer is a resounding yes, almost always. A damp sponge is your secret weapon for a dewy, seamless look. It also prevents the sponge from drinking up all your expensive foundation, which saves you product and money.
A dry sponge, on the other hand, is basically a foundation thief. It soaks up product like crazy, leading to a patchy, heavy application that just sits on top of your skin. The key is to make sure it's just damp, not sopping wet—squeeze out every last drop of excess water.
Fixing Those Annoying Application Glitches
"Why does my foundation look so streaky?" This is another big one, and the culprit is almost always the same: dragging the sponge across your skin instead of bouncing it. The fix is simple—stick to that gentle "stippling" or dabbing motion.
This light, tapping movement is what pushes the foundation into the skin for that smooth, airbrushed effect. Also, double-check that your sponge is evenly damp and you aren't globbing on too much product right from the start.
Key Takeaway: Streaks come from dragging, not dabbing. That bouncing motion is totally non-negotiable if you want a flawless, second-skin finish that looks like it has melted right into your complexion.
Finally, people often wonder if a sponge can be used with powder foundation. Absolutely! While it's famous for liquids and creams, a good makeup sponge is surprisingly versatile.
- For setting your makeup: Use a damp sponge to gently press translucent powder over your liquid foundation. This is a game-changer for locking everything in and preventing creases all day.
- For powder foundation: This is one of the rare times you’ll want to use a dry sponge. It will pick up more product for fuller, more concentrated coverage. Just use the same pressing and rolling motion for a smooth, matte finish.
At Axiology, we believe having the right tools makes all the difference. Our products, like the skin-renewing Fungdation, are made to blend out effortlessly for that natural, healthy glow. Check out our collection of vegan, cruelty-free makeup over at axiologybeauty.com.